This is a summary of boss strategies for each stage. We also explain specific countermeasures for situations where you can’t take them down,
so use this guide to assist you throughout your playthrough.
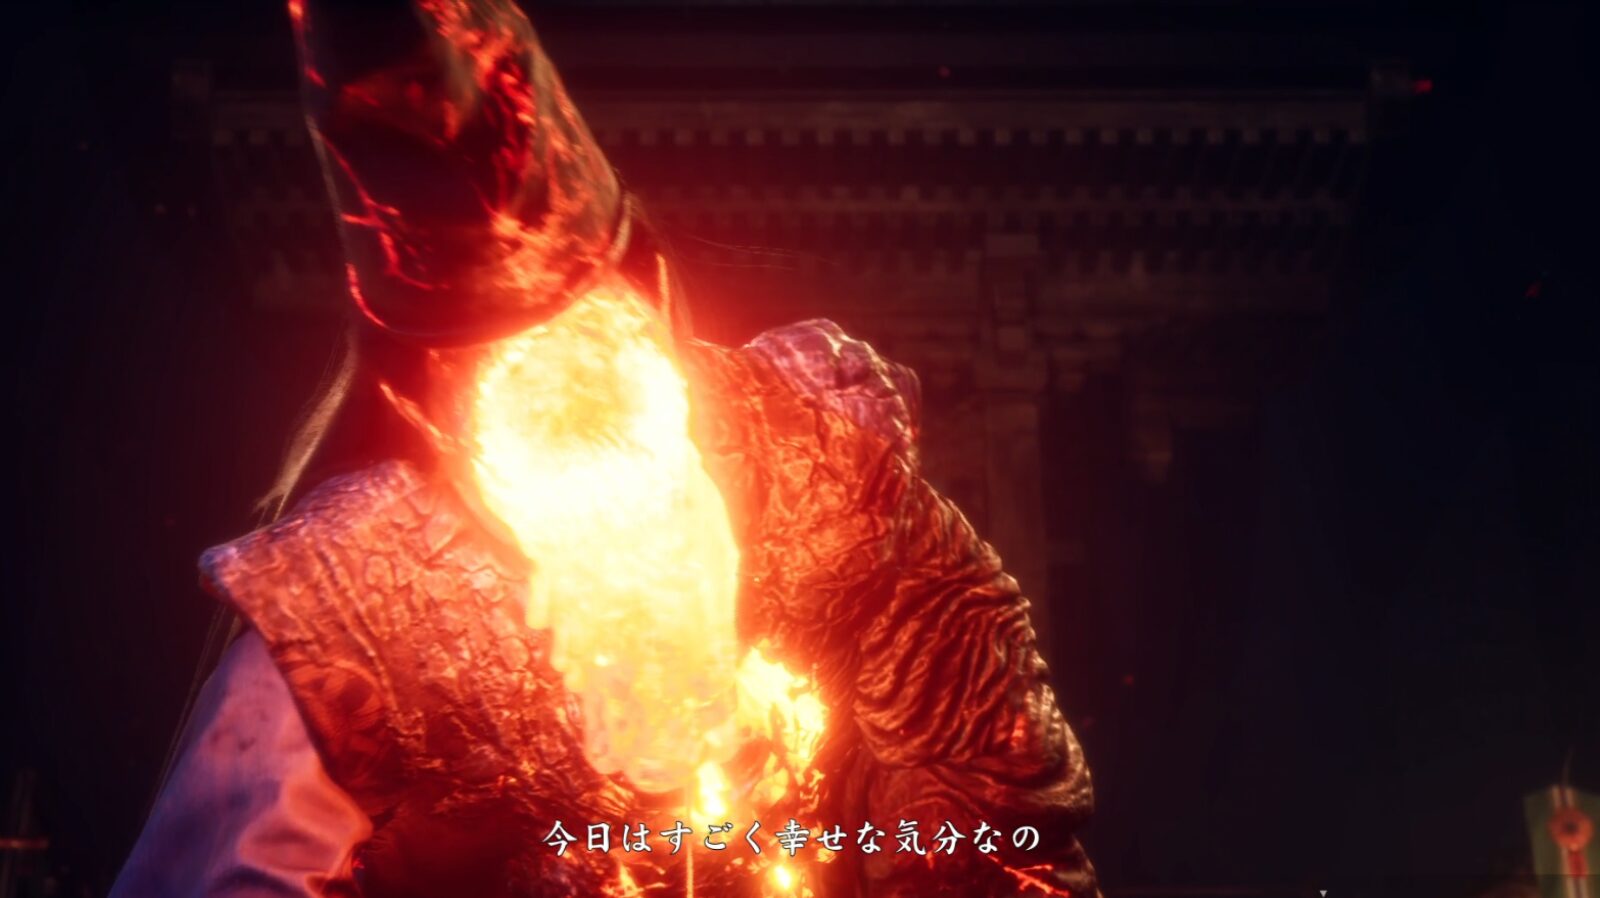
※For clarity, this guide applies unofficial labels to bosses whose official names have not been disclosed. These names are used solely for reference purposes.
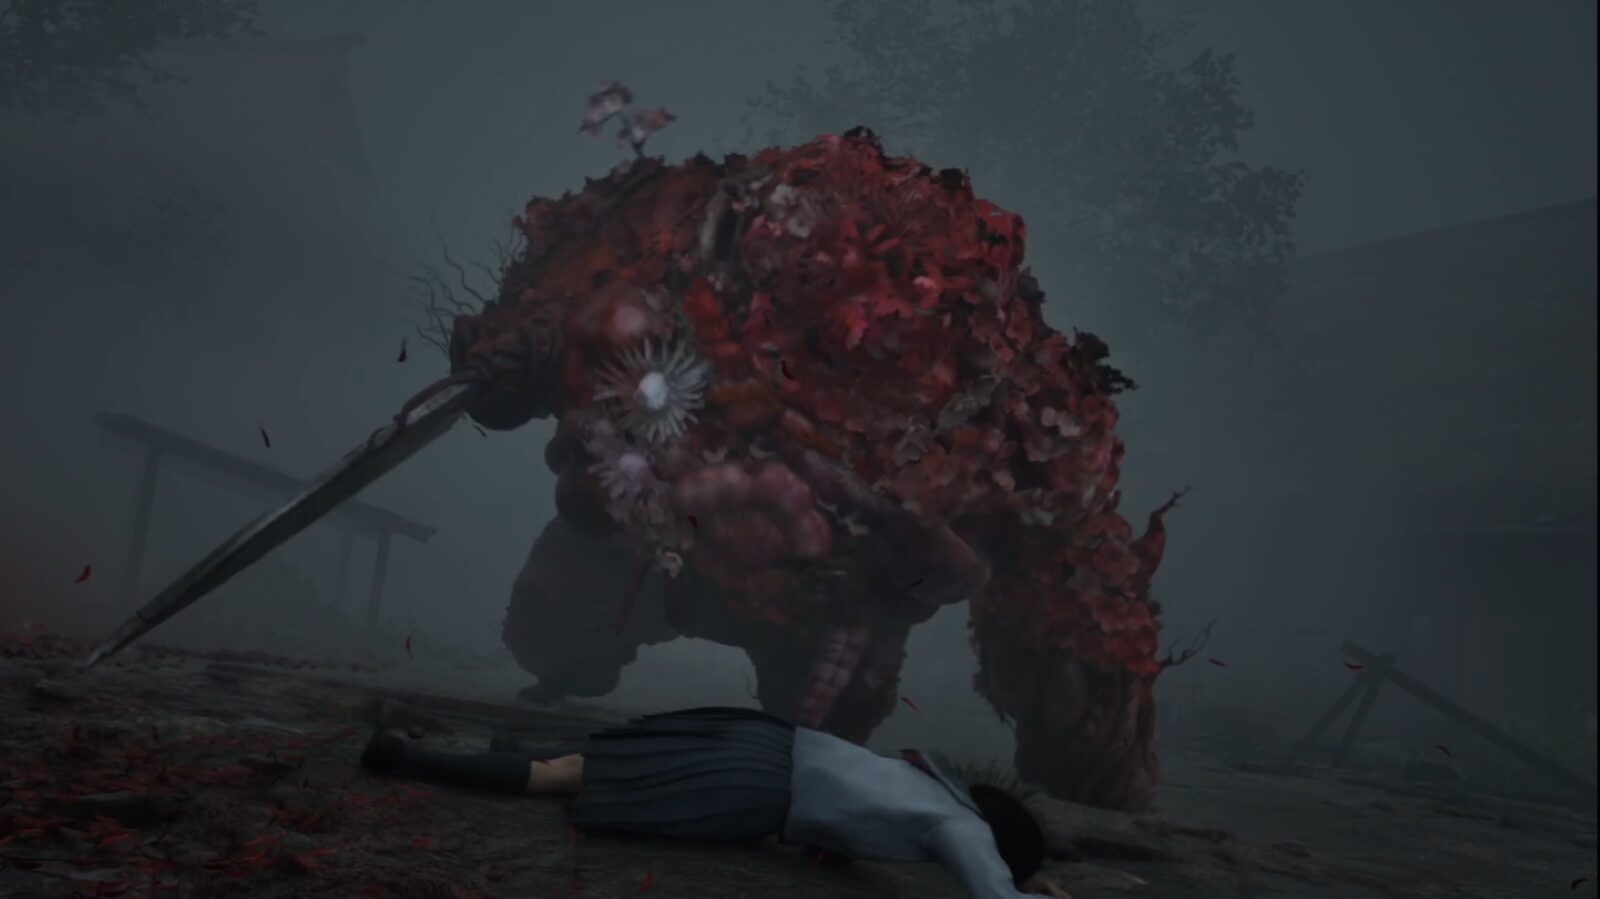
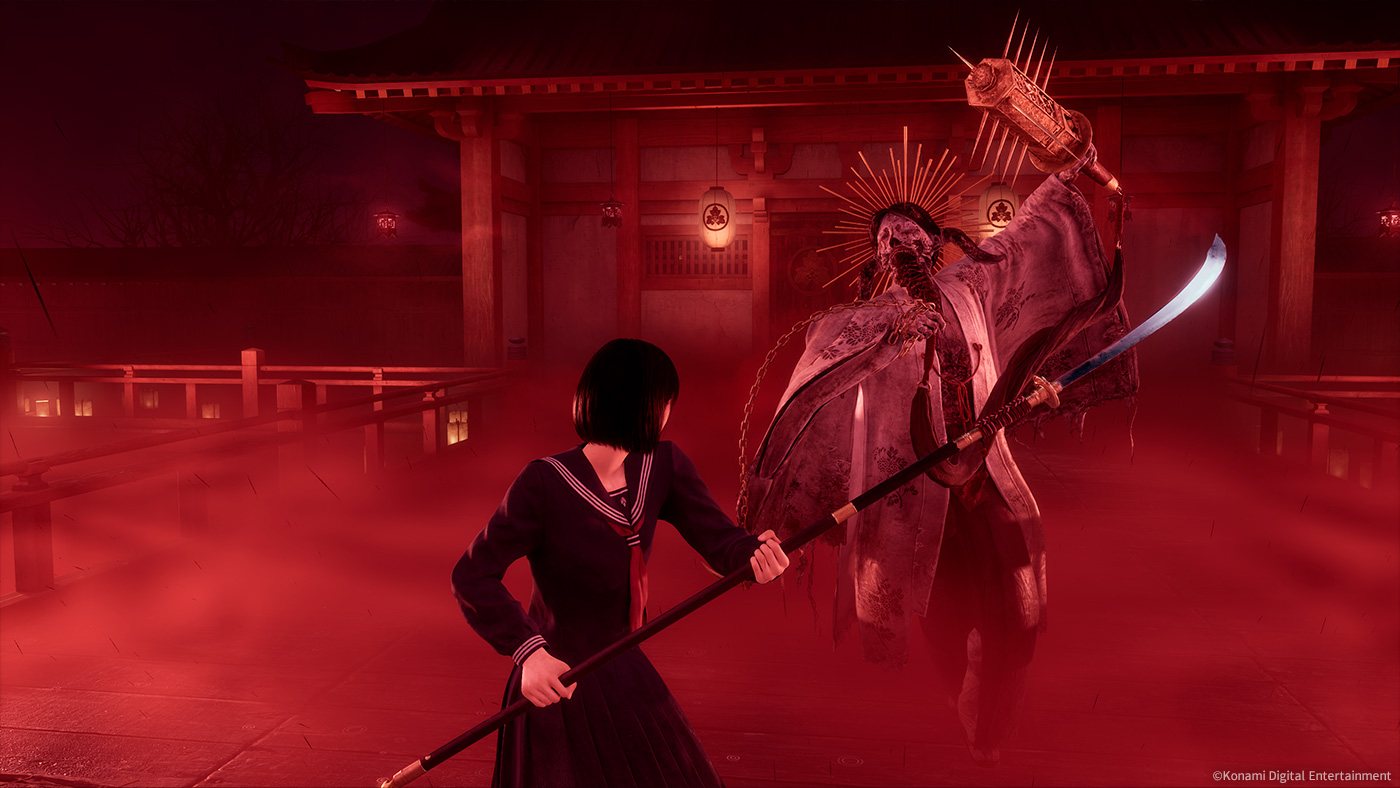
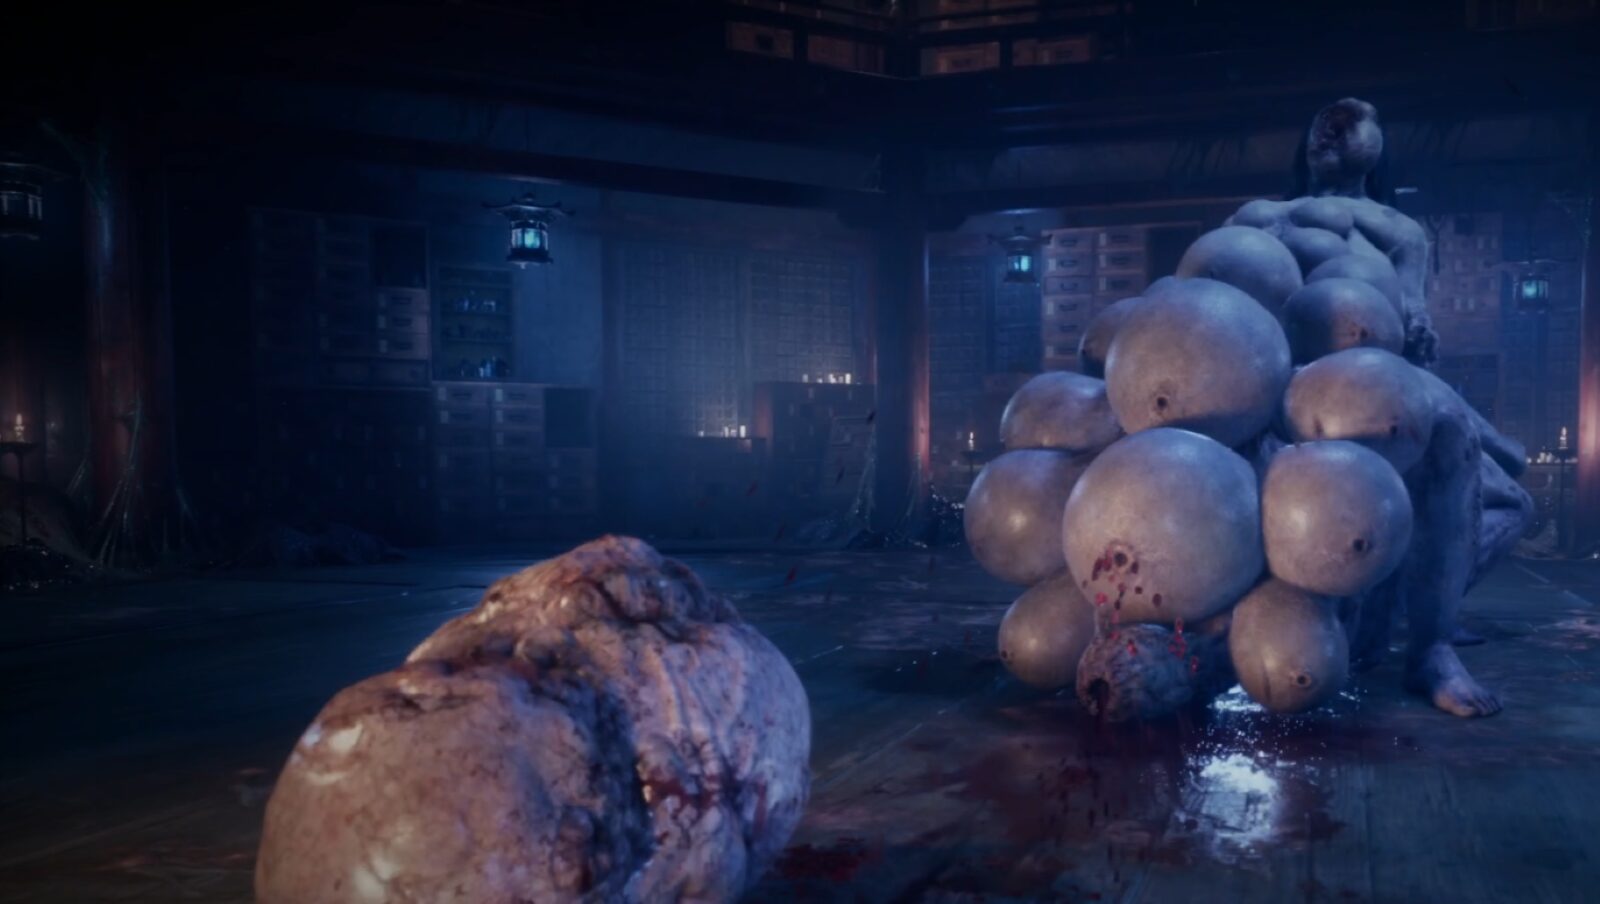
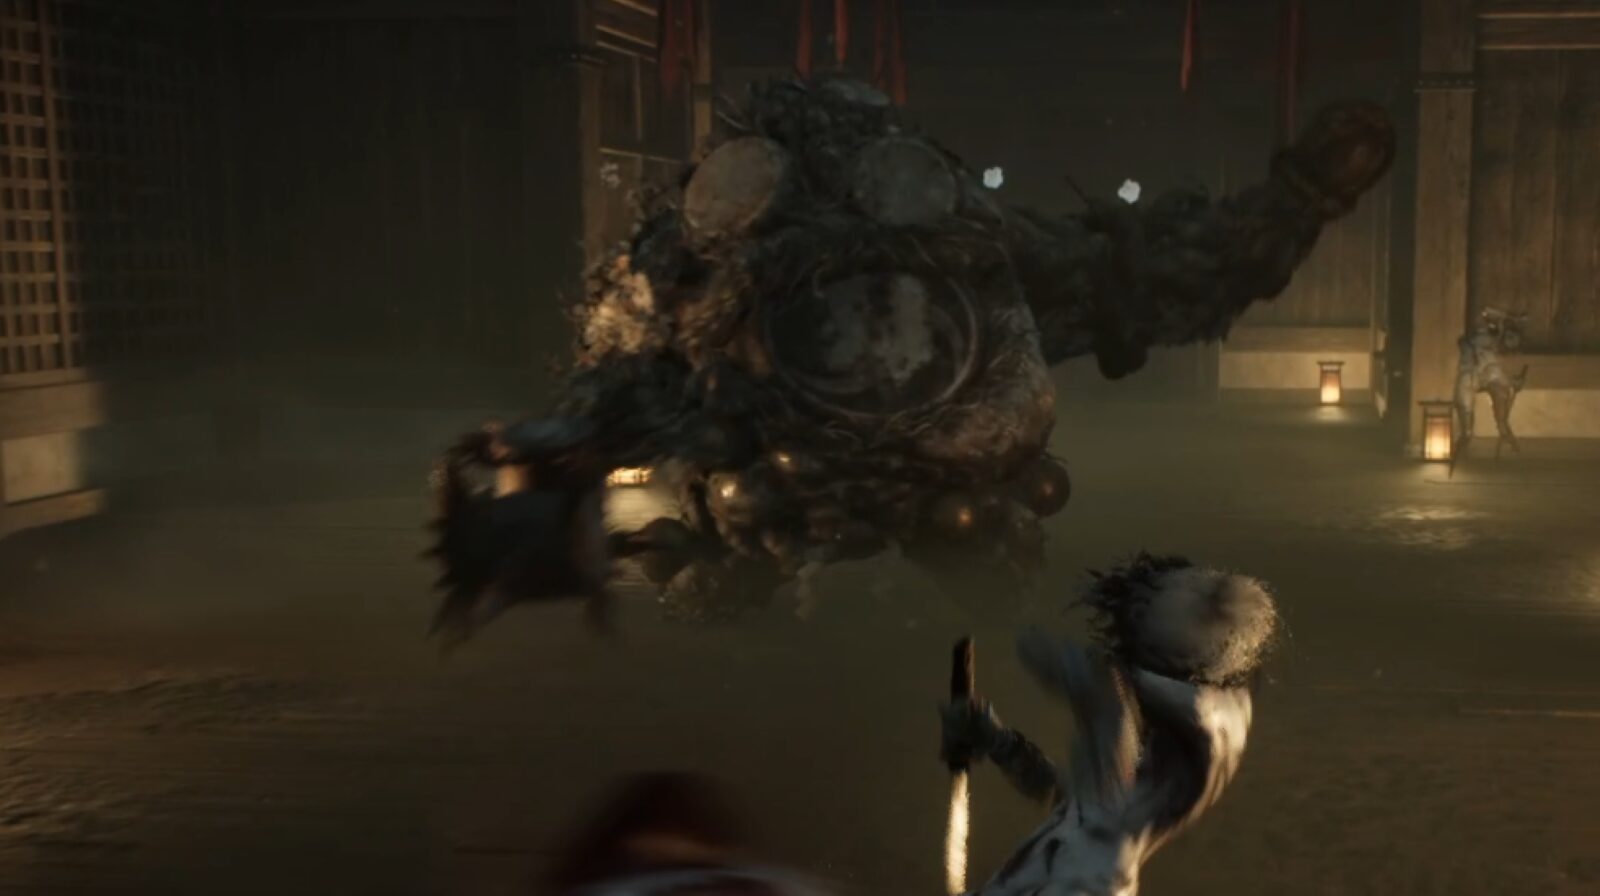
Boss List


When You Can't Beat a Boss
Learn Their Attack Patterns
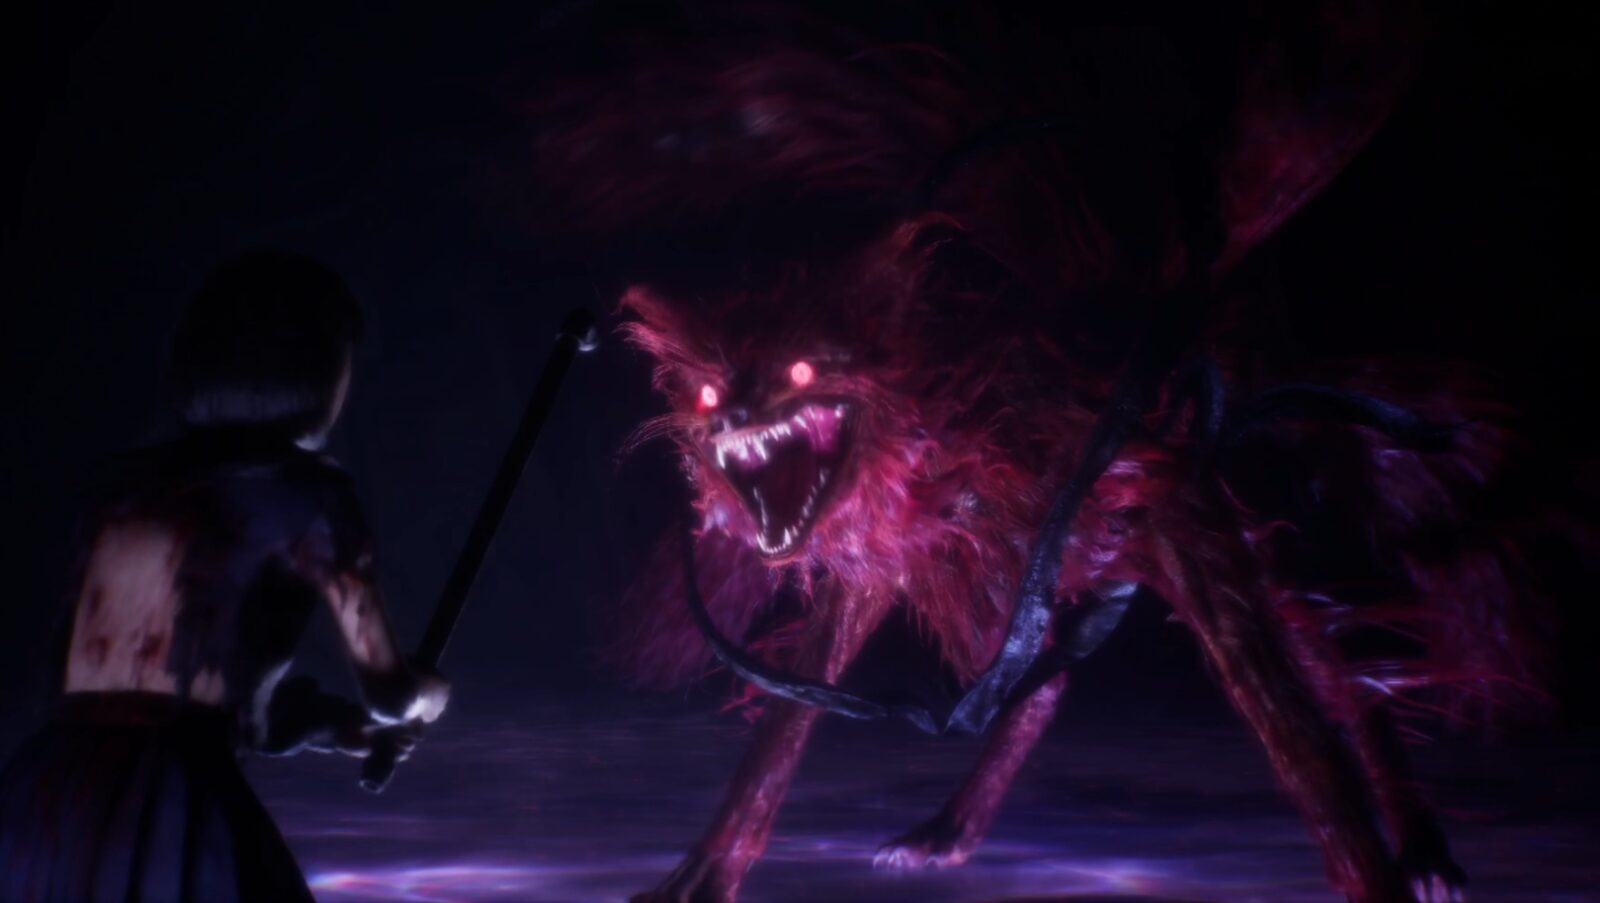
If you take the time to understand a boss’s attack habits and patterns, you’ll drastically reduce the number of hits you take, making the fight far more manageable.
Identifying which attacks can be countered with a Parry Counter is just as important.
You don’t have to win while you’re still observing. It’s perfectly fine to lose—your goal is to study the movements and patterns so that your next attempt becomes the clear victory. It’s just like Monster Hunter.
Adjust Your Equipment
Reevaluating your Omamori setup to better match boss encounters is one of the most effective strategies.
【Whale】 and 【Cat】 can still be useful, but 【Spider】 and 【Wolf】 often become dead weight depending on the fight.
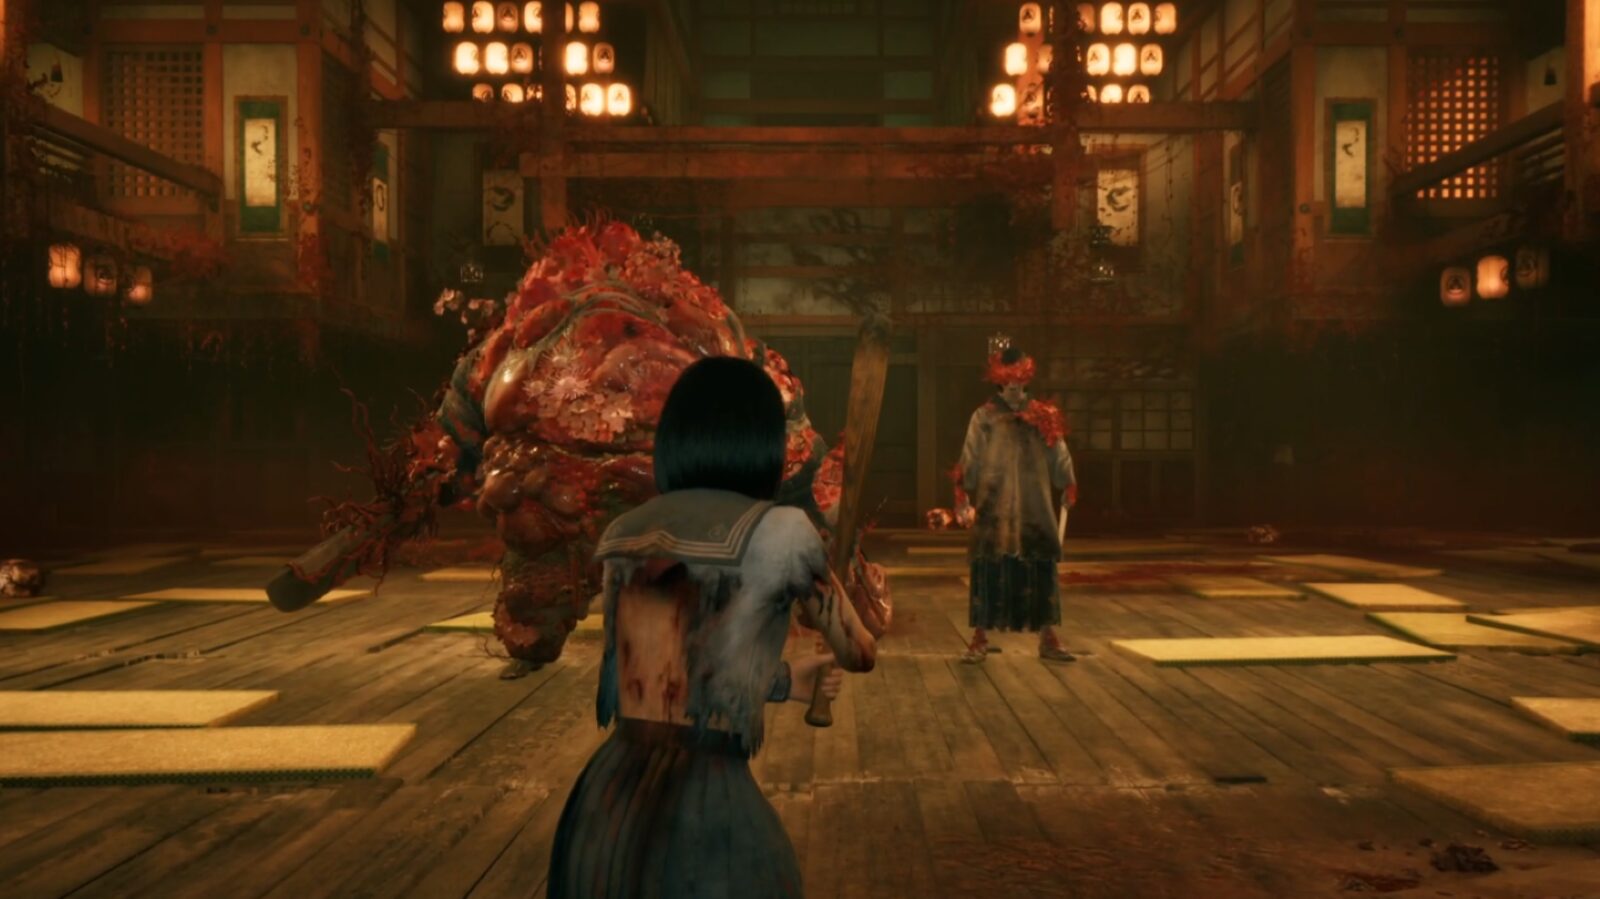
Most boss battles occur in the Dark Shrine, an otherworldly stage. Weapons like the Naginata used here do not have durability, meaning the effects from 【Spider】 and 【Wolf】 won’t activate. Swapping to Omamori better suited for the encounter is highly recommended.
Related Guide → Omamori List and Locations
Strengthen Your Stats
You can enhance Hinako at the Hokora through Pray. All four elements—Omamori slots, Health, Sanity, and Stamina—are important, so deciding what to prioritize can be a bit tricky.
Here is my completely personal and somewhat biased priority list by difficulty level:
【Story】 Omamori Slot > Sanity > Stamina > Health
Having just one additional Omamori slot is usually enough. Expanding slots any further becomes surprisingly expensive.
Sanity functions like a skill gauge. Not only does it make Parry Counters easier to perform while in Focus, but it also lets you stagger enemies with Focus Attacks.
Since you can fully recover Sanity for free by calming yourself at a Hokora, having a longer Sanity gauge gives you a clear advantage.
【Hard】 Omamori Slot > Stamina ≧ Health > Sanity
At this difficulty, restoring Sanity at a Hokora consumes Faith.
This means relying too heavily on Focus-based combat makes it difficult to accumulate Faith.
In that case, increasing Stamina—rather than your Sanity cap—allows you to stay mobile, which directly improves both survivability and your chances of winning.
Related Guide → How to Obtain Ema and All Locations
Lower the Action Difficulty to【Story】
If you are defeated several times in battle, the Game Over screen will allow you to lower the action difficulty.
However, once you lower the difficulty, you cannot revert it back.
If you don’t mind that limitation, feel free to reduce it and progress at a more relaxed pace.
Related Guides
Here are my other SILENT HILL f guides. Feel free to check out anything that catches your eye.