I will explain gameplay mechanics and control techniques that the game barely touches on.
I’ll introduce basic controls you’ll want to know beforehand, along with situational techniques that become useful in critical moments,
so please make use of them during your playthrough.
Basic Controls You Should Keep in Mind
Personally, the button layout was so unfamiliar to me that it took nearly an hour to get used to it.
Let’s go over the fundamental actions aside from movement.
| Action | Switch | PS | Xbox |
| Run | Y | □ | X |
| Call Partner | X | △ | Y |
| Jump/Throw | B | × | A |
| Equip Bow/Wrench | A | ○ | B |
| Equip Umbrella | RS | R3 | RS |
| Grab/ Use Bow or Wrench | R/ZR | R1/R2 | RB/RT |
| Crouch/Slide | L/ZL | L1/L2 | LB/LT |
About Calling Your Partner
This becomes especially important when playing solo.
There are machines and devices that only your partner can interact with, so you’ll need to call them over when required.
They may sometimes operate gimmicks on their own if you move nearby, but calling them yourself makes progression much smoother.
In sections with time limits or where you need to hurry, calling your partner can be essential to overcoming traps or gimmicks, so keep it in mind.
It can also be used, though rarely, to lure enemies toward you.
About Grabbing
The word means exactly what it sounds like, but here’s a quick explanation. The comments on the right show how important each situation is.
・Pick up objects on the ground ← straightforward
・Grab doors or movable objects ← understandable
・Grab ladders to climb ← makes sense once you get used to it
・Grab ledges you can’t reach with a normal jump ← extremely important
・Hold hands with your partner and run together ← used when you must not separate?
As you can see, grabbing is used in a wide range of situations. This game really revolves around grabbing.
About Throwing
You won’t use this action at all in Chapter 1, so it’s easy to forget about it.
However, there will definitely be moments later where this action becomes important, so keep in mind that throwing is part of your options.
By the way, you can unlock the very first gimmick in Chapter 1 using Low’s bow, but you can also pick up a shoe nearby and throw it to do the same.
Advanced Controls to Remember
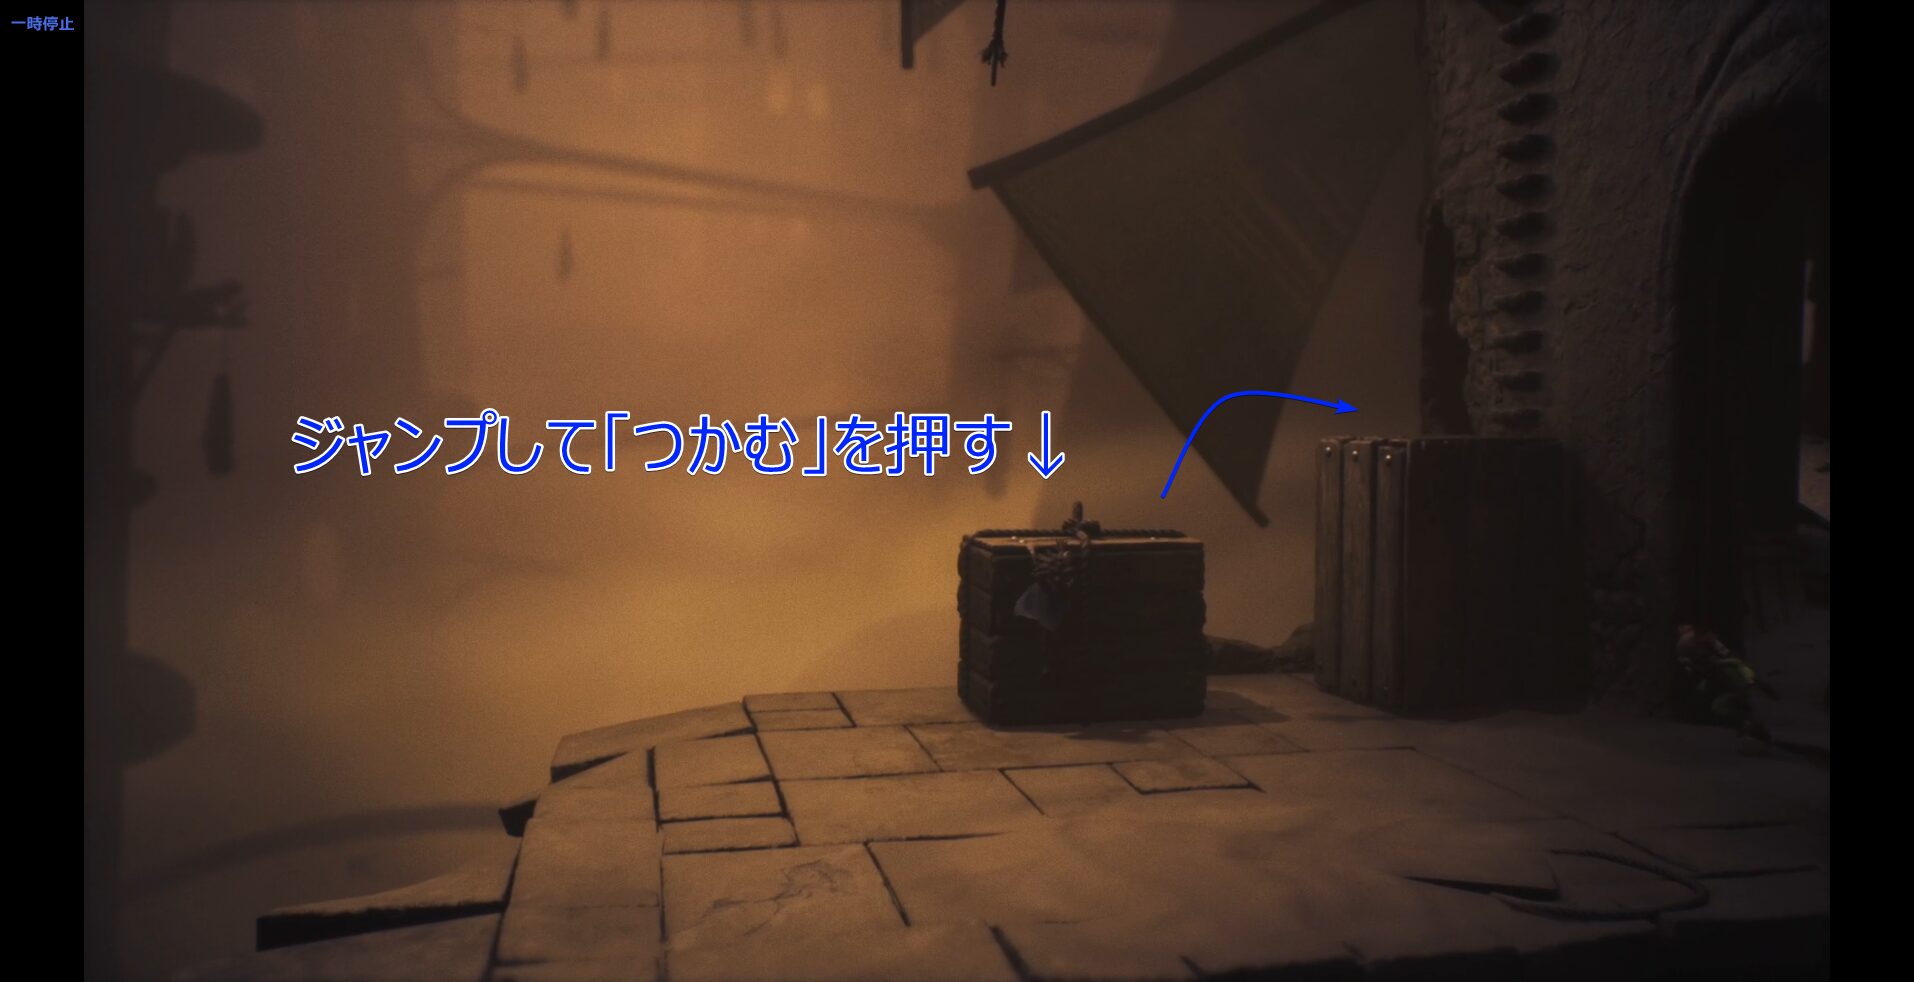
Ledges You Can’t Reach With a Jump Alone
I briefly touched on this earlier, but let me explain it again.

For example, when climbing onto a box like this, a jump alone won’t get you there.
You’ll need to press the grab button at the peak of your jump to pull yourself up.
Umbrellas Aren’t Just for Riding the Wind
In areas where wind blows upward, equipping your umbrella allows you to rise into the air.
However, imagine there’s a high place where simply dropping down from it would lead to a game over.
In such cases, using your umbrella while descending lets you land safely.
When Equipped With the Bow or Wrench
This is less of an advanced technique and more like a quirk of the system.
When you have the bow or wrench equipped, you won’t be able to grab or jump.
If you ever think, “Huh?” then you’re likely equipped with the bow or wrench, or your button may be malfunctioning.
The same applies when using the umbrella, where grabbing may also be disabled, so remembering this could help you avoid unexpected trouble.
Related Guides
Here’s a collection of my other Little Nightmares III guides. Feel free to check out anything that catches your eye.