This guide explains efficient ways to take down Araabare, key things to know, and its attack patterns.
Use this guide to assist you throughout your playthrough.
※For clarity, this guide applies unofficial labels to bosses whose official names have not been disclosed. These names are used solely for reference purposes.
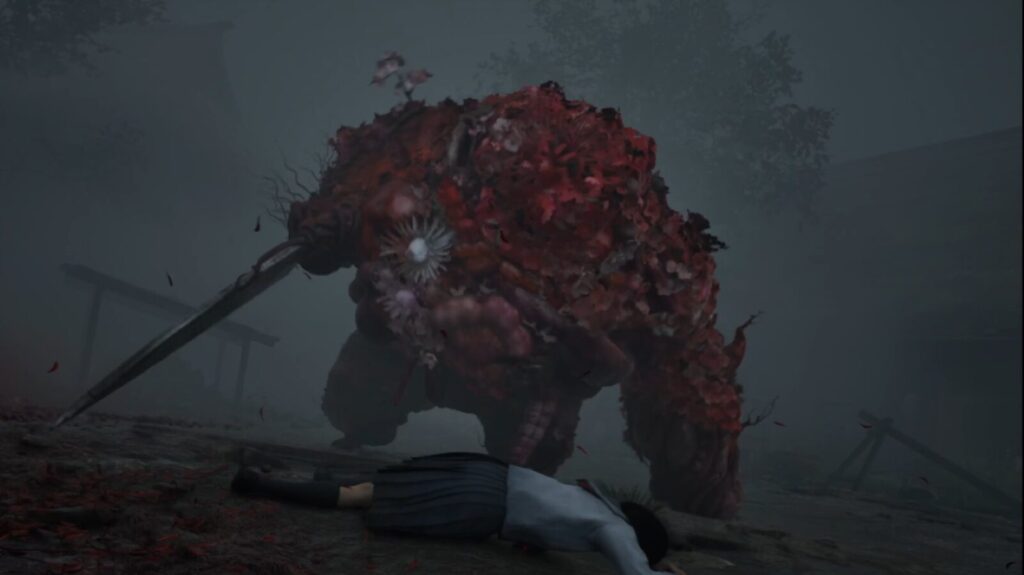
Boss Strategy: Araabare
Where This Boss Appears: Amida-Shirakawa Walkthrough
You Don’t Need to Defeat It
Yes, you can beat it — but there’s absolutely no reason to. It’s just a hassle.
As Shu mentioned, entering the barn is essentially the end of the encounter. However, the key drops into the well, so you’ll need to pull it back up.
Lure It Away and Crank the Well
The entire area is shaped like a figure-eight. While slowly luring the boss toward one end, turn the crank on the well.
It’s incredibly heavy — each crank takes around 7 seconds. Do this three times to obtain the key.
Action: Hard After your first successful crank, a minion will appear. Take care of it while watching the boss’s movement; if you leave it alive, cranking becomes nearly impossible.
Once you retrieve the key and enter the barn, immediately move the stacked items on the left. Ignore the two minions inside, climb out through the high window, and you’re done.
Boss Strategy: Araabare (Rematch)
Where This Boss Appears: Ebisugaoka - Second Visit Walkthrough
You Can Take It Down
When it reappears near Chizuruya General Store, you’re supposed to take the alternate route without fighting, but you can still take it down — and you’ll unlock an Achievement for doing so.
If you start the fight already strong in New Game+, it’s fairly easy to Take Down. In fact, in Amida-Shirakawa, taking it down may even be faster if you are in New Game+.
Related Guides
Here are my other SILENT HILL f guides. Feel free to check out anything that catches your eye.