This guide explains where to obtain the Omamori Tanuki, its effects, practical usage tips, and recommended Omamori combinations that work well with it.
Please use this guide to assist you throughout your playthrough.
Related Guide → All Omamori – Effects & Locations
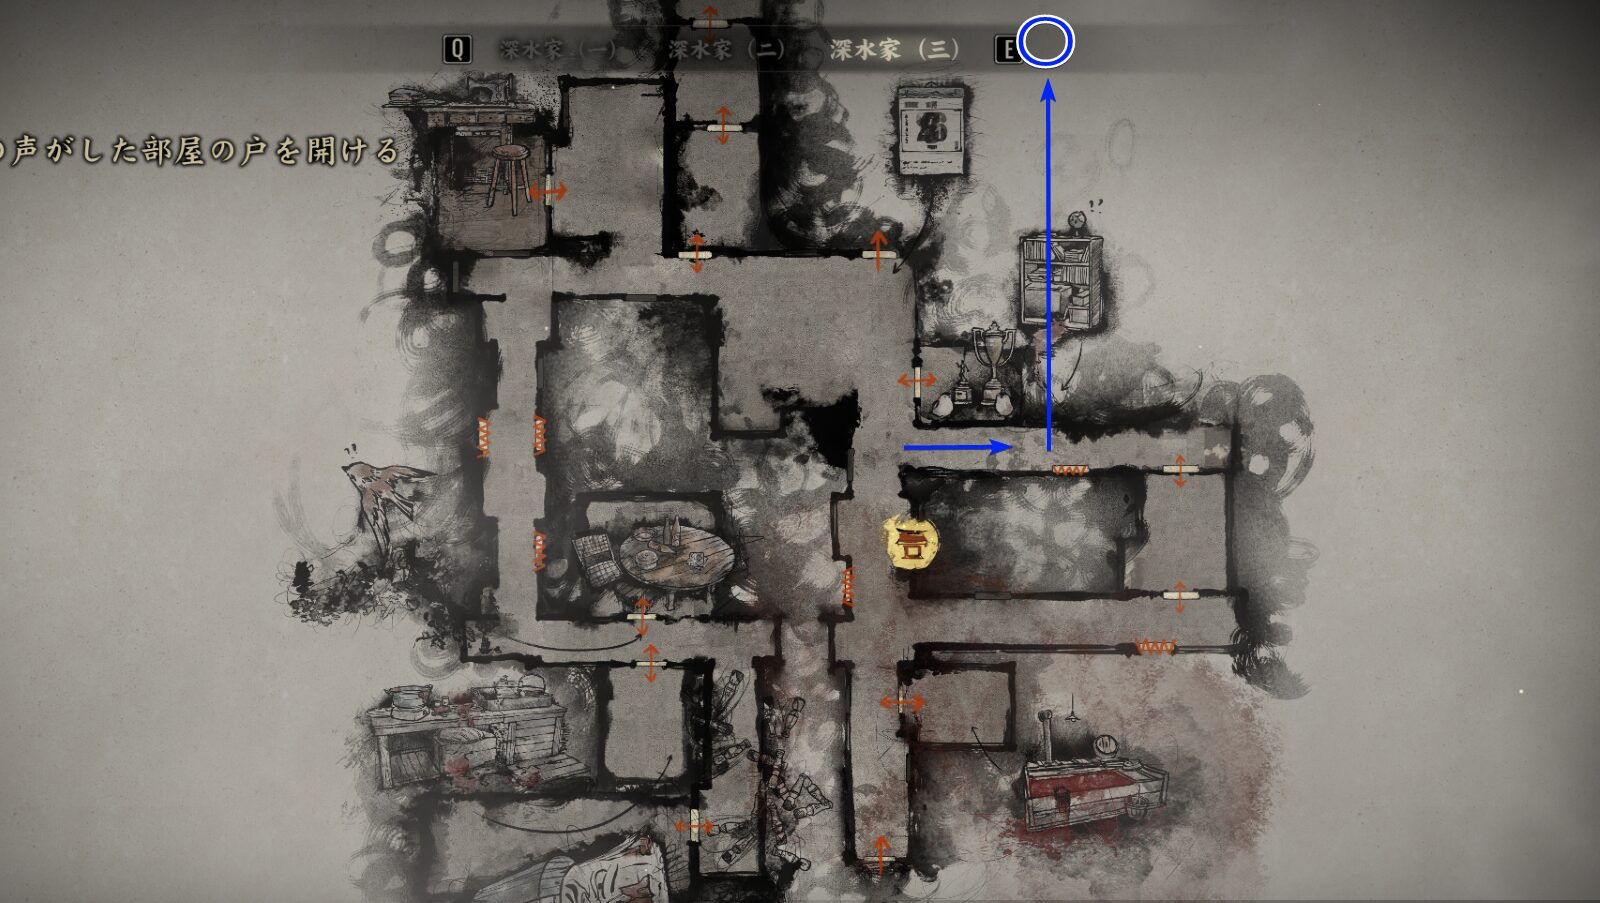
Tanuki: Effects & Location
【Tanuki】
Converts incoming Health damage into Sanity damage.
From Draw Omamori
When Tanuki Is Most Useful
Useful When You Want to Maintain the Near-Death State
This Omamori is valuable when running builds that gain strong benefits while Hinako is in a near-death state.
Because incoming damage can be absorbed by your Sanity Cap instead of Health, you can turn what is normally a high-risk and demanding playstyle into something much more manageable.
Even outside of near-death strategies, you can also treat it as a way to almost double your effective Health, making it useful in a broader range of builds.
Recommended Omamori Combinations
Cuckoo / Shrew Mole
【Cuckoo】Location: Shimizu Residence
Greatly increases damage dealt while at critical Health.
【Shrew Mole】Location: Shrine Path (New Game+)
Dodging while at critical Health does not consume Stamina.

These two Omamori form the core of a near-death setup. With Tanuki equipped, you won’t go down easily.
Does Not Pair Well with Daisy
【Daisy】
Stamina and Sanity become unlimited, but any damage taken results in instant death.
From Draw Omamori
I initially wondered whether Tanuki’s damage conversion would make you effectively invincible — but no, it doesn’t work that way.
Related Guides
Here are my other SILENT HILL f guides. Feel free to check out anything that catches your eye.
