This guide explains efficient ways to take down Tsukumogami, key things to know, and its attack patterns.
Use this guide to assist you throughout your playthrough.
※For clarity, this guide applies unofficial labels to bosses whose official names have not been disclosed. These names are used solely for reference purposes.
Boss Strategy: Tsukumogami
It appears during the ending “Fox's Wedding”.
Keep Attacking as Long as You Have Stamina and Openings
Countering with a Perfect Dodge is certainly an effective option, but since this boss leaves many openings, you can safely continue attacking without always waiting for a counter opportunity.
By this point, your Prayer upgrades should be progressing, and if you have already unlocked the maximum number of Amulet slots, you can create a build that allows for a more effective approach.
Needless to say, you should still manage your stamina carefully and preserve some for evasion. After all, this is a boss battle—its attacks are undeniably powerful.
Once you become familiar with its attacks, proactively use Perfect Dodges to conserve stamina whenever possible.
There Is an Achievement You Can Unlock
If you take down the boss without getting hit by its arrow-based ranged attacks during the mid-phase of the fight, you can unlock an Achievement.
Details on the attack patterns will be explained later, but there are moments where Perfect Dodging becomes necessary. Equipping the Omamori 【Suzuran】will make performing Perfect Dodges easier, making this Achievement slightly more manageable and thus recommended.
Attack Patterns
① Strikes with Its Weapon
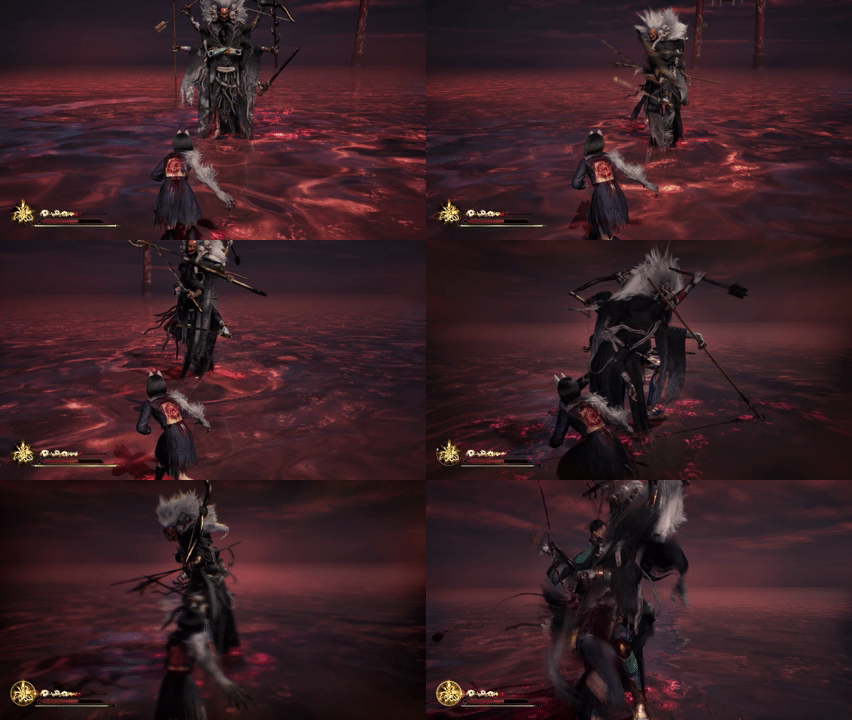
There are several variations of this move, but the easiest point for a Perfect Dodge counter is right before the second hit of the forward thrust it performs after firmly drawing back its right-hand staff.

There may be more variations, but I haven’t fully confirmed them yet.
② Stomp Attack
It doesn’t use this move often, but it might as well be saying, “Please Counter or Perfect Dodge this.”
When it raises its right leg, that's your cue for a Perfect Dodge counter. It’s absurdly obvious—probably the clearest telegraph in the entire game.

③ Otherworldly Combo Sequence
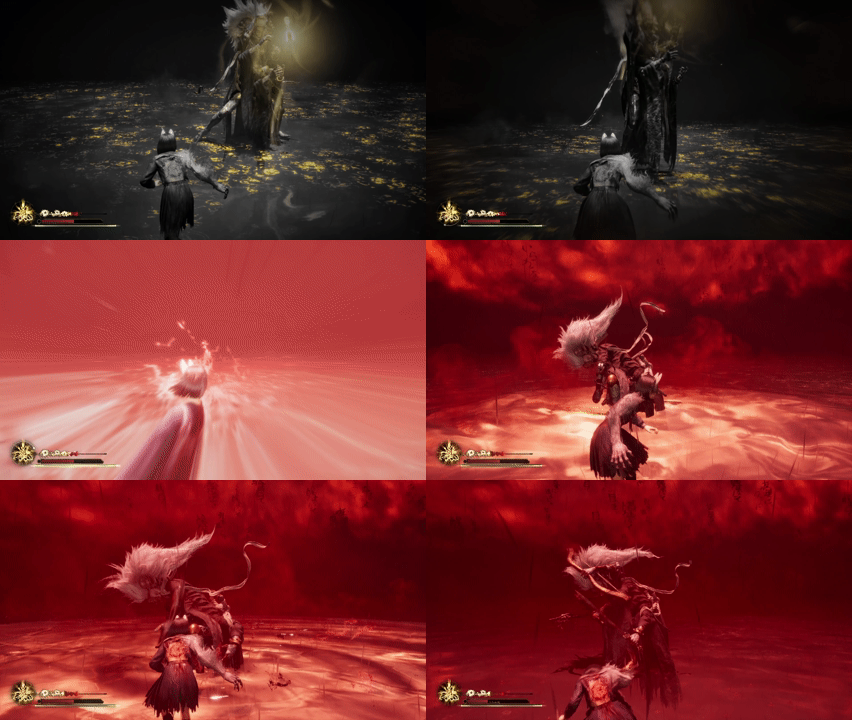
When it brings out a glowing weapon and the game background shifts into a monochrome otherworld, it begins a fixed sequence of actions.
Two punches while teleporting, followed by ringing a bell to charge, and then two arena-wide attacks make up one full set. The punches can be avoided with a sideways dodge, but the arena-wide attacks require Perfect Dodges, so you must rely on sound cues or your internal timing to evade them.
The fate of someone who dodges the first arena-wide attack and then gets complacent ↓

④ Transition from Arena-Wide Attack to Ranged Attacks
After a quick forward strike with its weapon, it shakes the ground and launches an arena-wide attack. Perform a Perfect Dodge to avoid it. (Zero Sucsess so far)
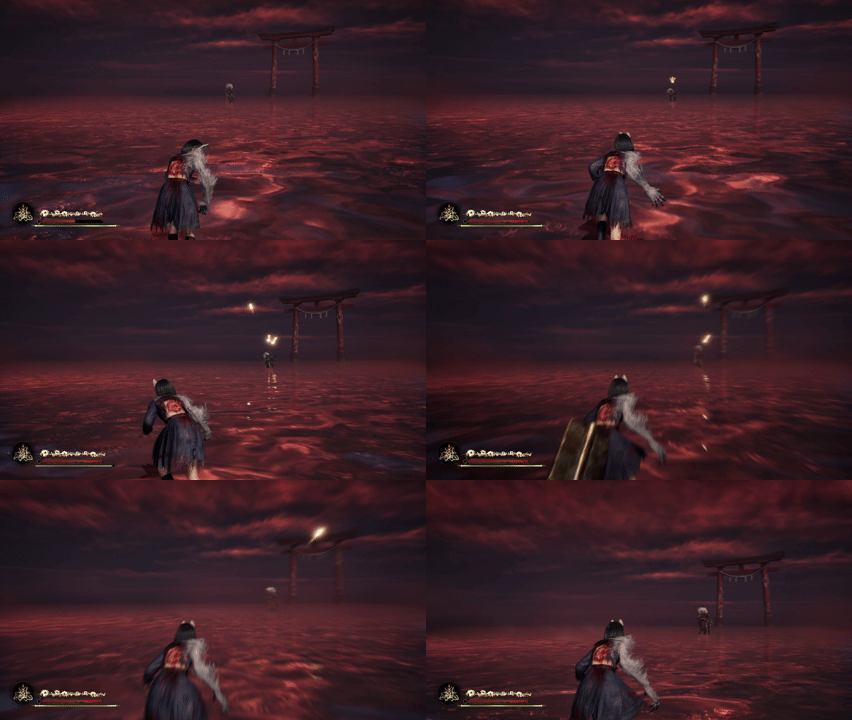
After the arena-wide attack, it teleports far away and enters the Light Bow shooting phase. This is where you make or break your Achievement attempt.
It stops shooting if you get close enough, so your only option is to sprint toward it. Keep in mind that it may use not only Light Arrows but also tsunamis or rotating water orbs, so Perfect Dodge those accordingly.
Here are the variations of the Light Arrows. Among them, there is one that is an absolute nightmare.
Horizontal Shots can be avoided just by running. This is the boss being merciful.
If it nocks three arrows aimed upward, it adjusts its aim for each shot, so keep dodging.

The most brutal pattern is the combination of carpet bombing + horizontal shots.

Pray you don’t get this pattern. If you’re aiming for the Achievement, return to the title screen and reload as soon as you get hit.
Related Guides
Here are my other SILENT HILL f guides. Feel free to check out anything that catches your eye.